The amount, intensity and temperature of light are very important in digital photography as they have a direct impact on the quality, mood and visual impact of the images. The right light setting helps the photographer to express their story and emotions through the images.
Light quantity, intensity and temperature play a key role in digital photography. Today's high-end phones have a lot of predefined settings and new sensors with the right optics provide the right light, but not always. But why is all this important?
Exposure and Clarity: The amount of light determines the lightness and darkness of the image. Proper exposure ensures that the details of the image are clearly visible and neither too bright nor too dark.
Contrast: The intense light helps to bring out the contrast in the image, improving its appearance and sharpness.
Colour temperature and white balance: The temperature of the light determines the colours and mood of the picture. For example, warm light (e.g. sunset) produces warmer colours, while cool light (e.g. bluish shadows) produces cooler colours.
Mood and Impact: The amount, intensity and temperature of light affect the mood and emotion of the image. For example, a strong, contrasting light creates a dramatic effect, while a softer, more diffuse light creates a more romantic or softer mood.
Control and Shadowing: By adjusting the direction and intensity of the light, you can control the shadows and highlights in the image. This helps to highlight objects or people, adding texture and dimension to the image.
What can you do if you don't have enough light for the perfect picture?
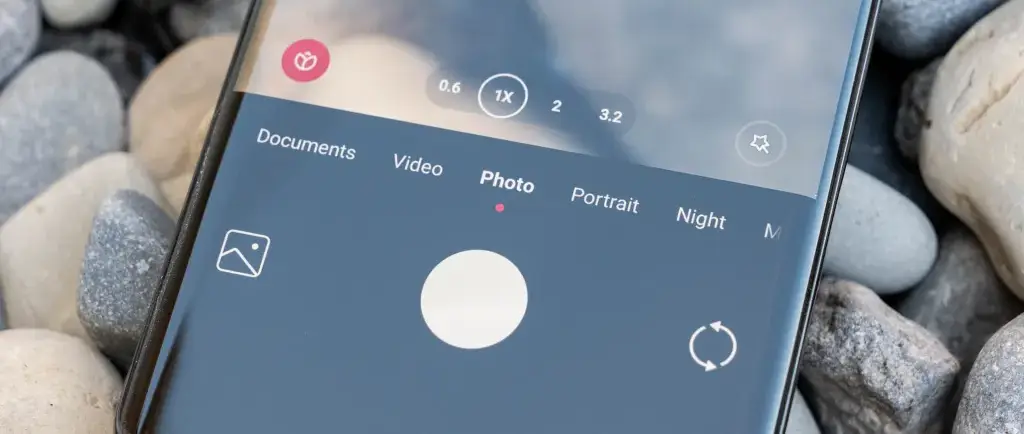
If there's not enough light and you want a better result, there are a few more steps you can take to improve the result (e.g. in the Pro menu of the camera app):
Larger aperture: This is very specific, as most phones do not have this option, so it is limited to a very small number of devices. But if you have the option to switch between apertures, go for the larger one, so you get more light on the sensor and better quality.
Higher ISO value: Increase the ISO value in the camera settings. Images with higher ISO sensitivity will capture more light, but be careful because high ISO can result in noisy images.
Longer shutter speed: If the aperture cannot be adjusted, increase the shutter speed to allow more time for the light to be captured in the image. However, it is important to be careful of blurring moving objects.
Using flash: Use the built-in flash of your mobile phone or an external flash. A flash can help supplement natural light and provide better illumination for the image.
Manual focus: If the mobile phone camera cannot automatically sharpen the image because of low light, try manually adjusting the sharpness in the camera app.
Night mode or low light mode: Many modern mobile phone cameras have special night or low-light modes that help improve image quality in low light. These modes use a longer shutter speed and lower ISO to capture more light in the image.
What can we do to achieve even better results?
If everything is set up correctly, it is not 100% that you will get a better result. So we need to look for additional solutions to make our images even better. A few tips for lighting:
Stabilisation: In low light, using a slower shutter speed makes the camera more sensitive to shake and results in blur. Use a stabilizer, such as a tripod or a stable mount, perhaps a tripod, to minimise shake and shift.
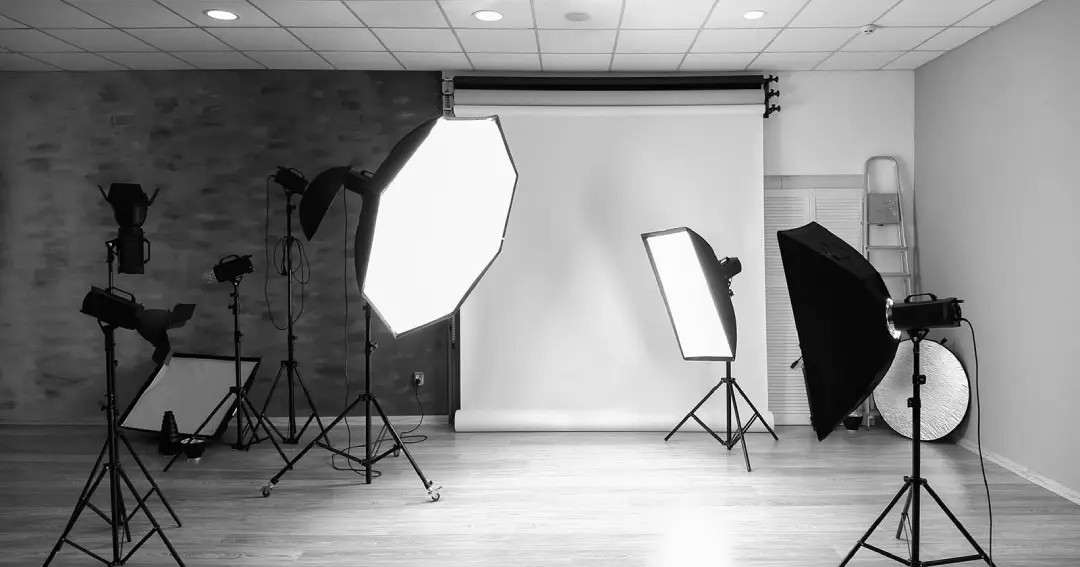
Use of a reflector or softener: If you have a reflector or softener, try to control the available light or soften the harsh light to achieve more balanced lighting.
Light sources and their control: Use the right quantity and quality of light sources, such as sunlight, studio lighting. Direct the lights so that they adequately illuminate the subject and avoid excessive shadows or areas that are too bright.
Light intensity and temperature: Take into account the intensity and temperature of the light and adjust them according to the conditions. Warm light will give warmer colours to the image, while cool light will give cooler colours.
Shading and diffused light: Avoid excessive shadows around the subject and use diffused light, such as a translucent screen or diffuser, to achieve softer and more even lighting.
Backlighting and background: Take into account the backlighting and the composition of the background and try to arrange it in a way that harmonises with and emphasises the object. Avoid excessively noisy or distracting backgrounds.
Object placement and angle: Try to place and position the object or person at the right angle to the light sources and the camera. Experiment with different angles and arrangements to find the best one to achieve the desired result.
Little composition tricks: Use little tricks like triangulation or highlighting light contrast to bring out the beauty and detail of the subject even more.
These settings and tips can help you get better results when light is low and you want to shoot with a mobile phone. It's always important to experiment with different settings to find the best one for the circumstances.


